A tarp is one of the most versatile pieces of gear. Some might argue is it better than using a tent. Tarps can be setup in countless configurations and options like the A-frame, Lean to, The Envelope and many more. Below we will name a few tarp setups and how to make them yourself.
You may want to check our Best affordable tent picks for 2022.
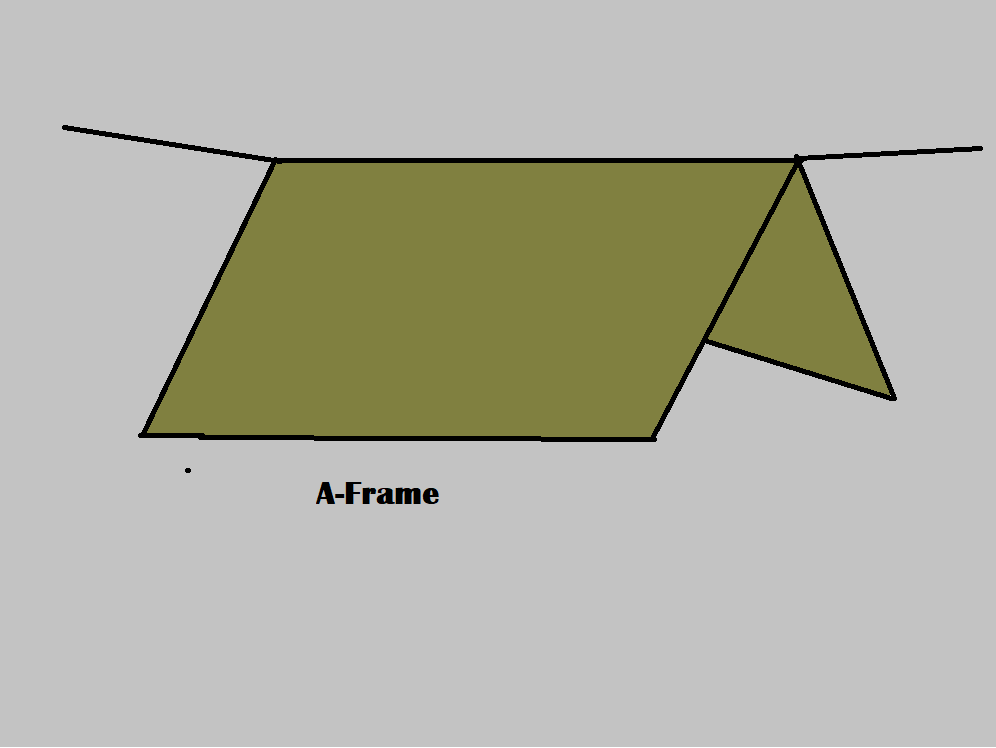
A-Frame
The A-frame is probably one the most popular tarp setups, and mainly because of it’s easiness and simplicity.
Steps:
1* Tie a paracord around two opposing trees, the height depends on how high you want your shelter to be and the tarp’s dimensions. Make sure the ridge-line is as tight as possible.
2* Peg down all ends of the tarp to the ground. You can position the corners depending on how much headroom you want.

AQUAQUEST Safari Waterproof Camping Tarp
Lean To
The lean to setup is as easy as the A-frame, in fact it is almost identical but one the sides is cut in half.
Steps:
1* Similarly to the previous setup, tie a paracord around two opposing trees, make it as tight as possible.
2* This time, instead of pegging each corner to the ground, you’ll do that only on one side of the tarp. Fold the other side over the ridgeline and use guylines to make it taut.

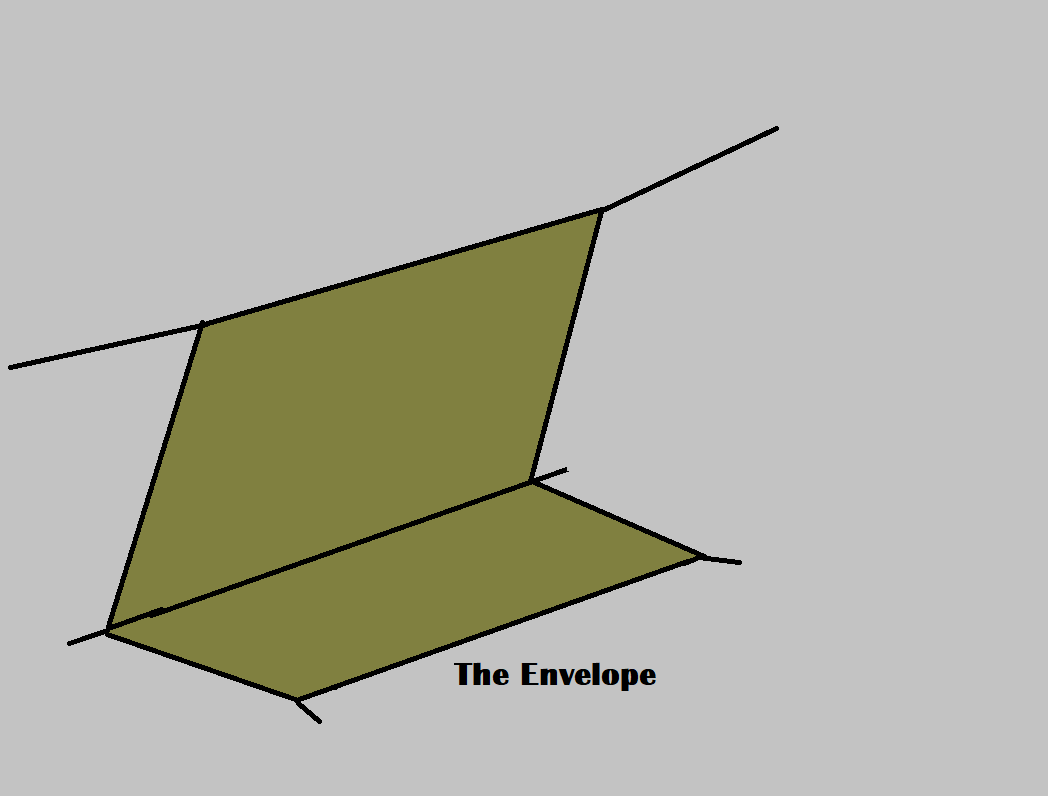
The Envelope
The Envelope setup is a lean to variation, it offers more protection from the elements and gives you a floor.
Steps:
1* Set up a taut Ridgeline, lay the tarp flat on the ground and peg the 2 outside corners.
2* Attach the other side with tie-outs to the ridgeline.
3* Pull the remaining part of the tarp and secure it with stakes.

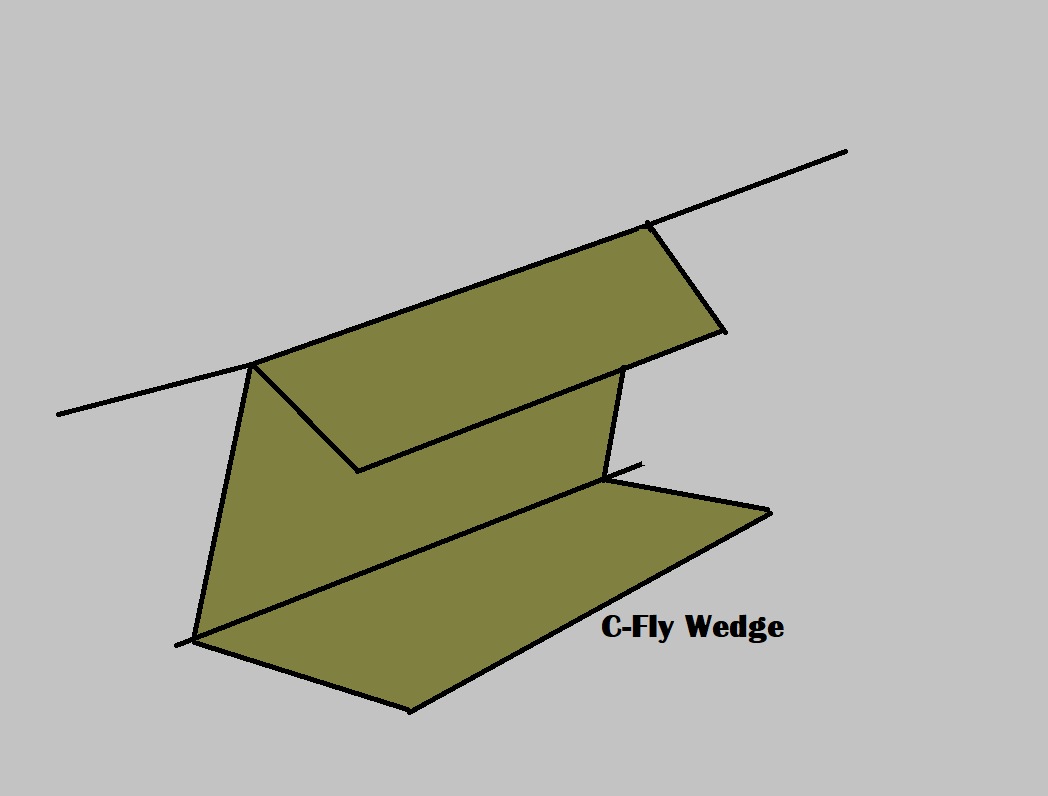
C-Fly Wedge
The C-fly setup is similar to the lean-to’s but with adding one more fold it turns the remaining piece of the tarp into a groundsheet.
Steps:
1* Tie a ridgeline between two trees.
2* Lay the tarp on the ground and peg it on one side as well as in the middle down to the ground.
3* Throw the rest of the tarp over the ridgeline, fold it and then stake both corners to the ground.
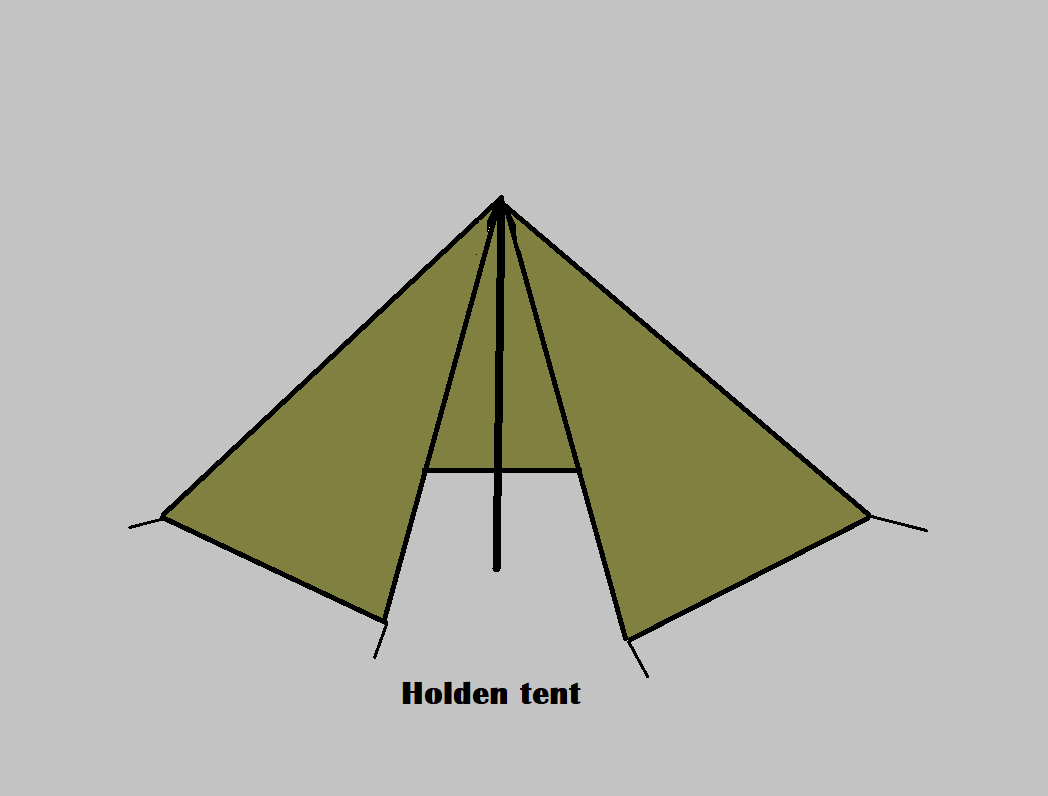
Holden tent
The Holden tent setup is easy to make and keeps you protected from the elements.
Steps:
1* Lay the trap down on the ground, stake down the sides in both of it’s corners.
2 * Go to the opposite side, raise it exactly in the middle with a pole and peg down the front corners.

Bivi Bag Cornet
The Bivi Bag Cornet setup offers good protection from the elements, but it doesn’t provide much room inside.
Steps:
1* Tie the paracord’s first end around a tree (4 ft high), stake the other end to the ground.
2* Put the tarp over the ridgeline diagonally and peg the corners down.

These were the most common tarp setups and configurations used while camping. Of course, the variations and the possibilities are endless that’s why we suggest packing a spare trap in your backpack and try to test a new setup every now and then to see what suits you the most when camping. We suggest the link below if you want to purchase a tarp.
